A Simple Plan for Every Pitch
- Check the count, the batter, and your pitcher’s stamina before choosing a pitch.
- Decide whether this pitch should earn a strike, create weak contact, or tempt the batter to chase.
- Place the target so the blue movement arrow finishes where you can accept the result.
- Press the release input when the shrinking blue circle meets the inner white circle.
- Use the actual location and new count—not the original plan—to choose the next pitch.
Read the Pitch Wheel Before You Throw
Move the left stick toward an assigned direction to select a pitch. Some directions contain a second pitch, selected with R1. The display gives you three different clues about the chosen pitch; none of them means the same thing.
- Pitch Power is the first grade. A higher rank makes the pitch tougher to hit.
- Control is the second grade. A higher rank makes the intended location more reliable.
- Breaking Level is shown by the ticks. More ticks mean greater movement.
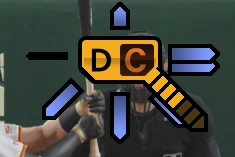
Standard or Full Power?
Hold the left stick toward the selected pitch until Full Power appears. Full Power increases Pitch Power, but it also uses more stamina. Treat it as a situational choice—not the default way to throw every pitch.
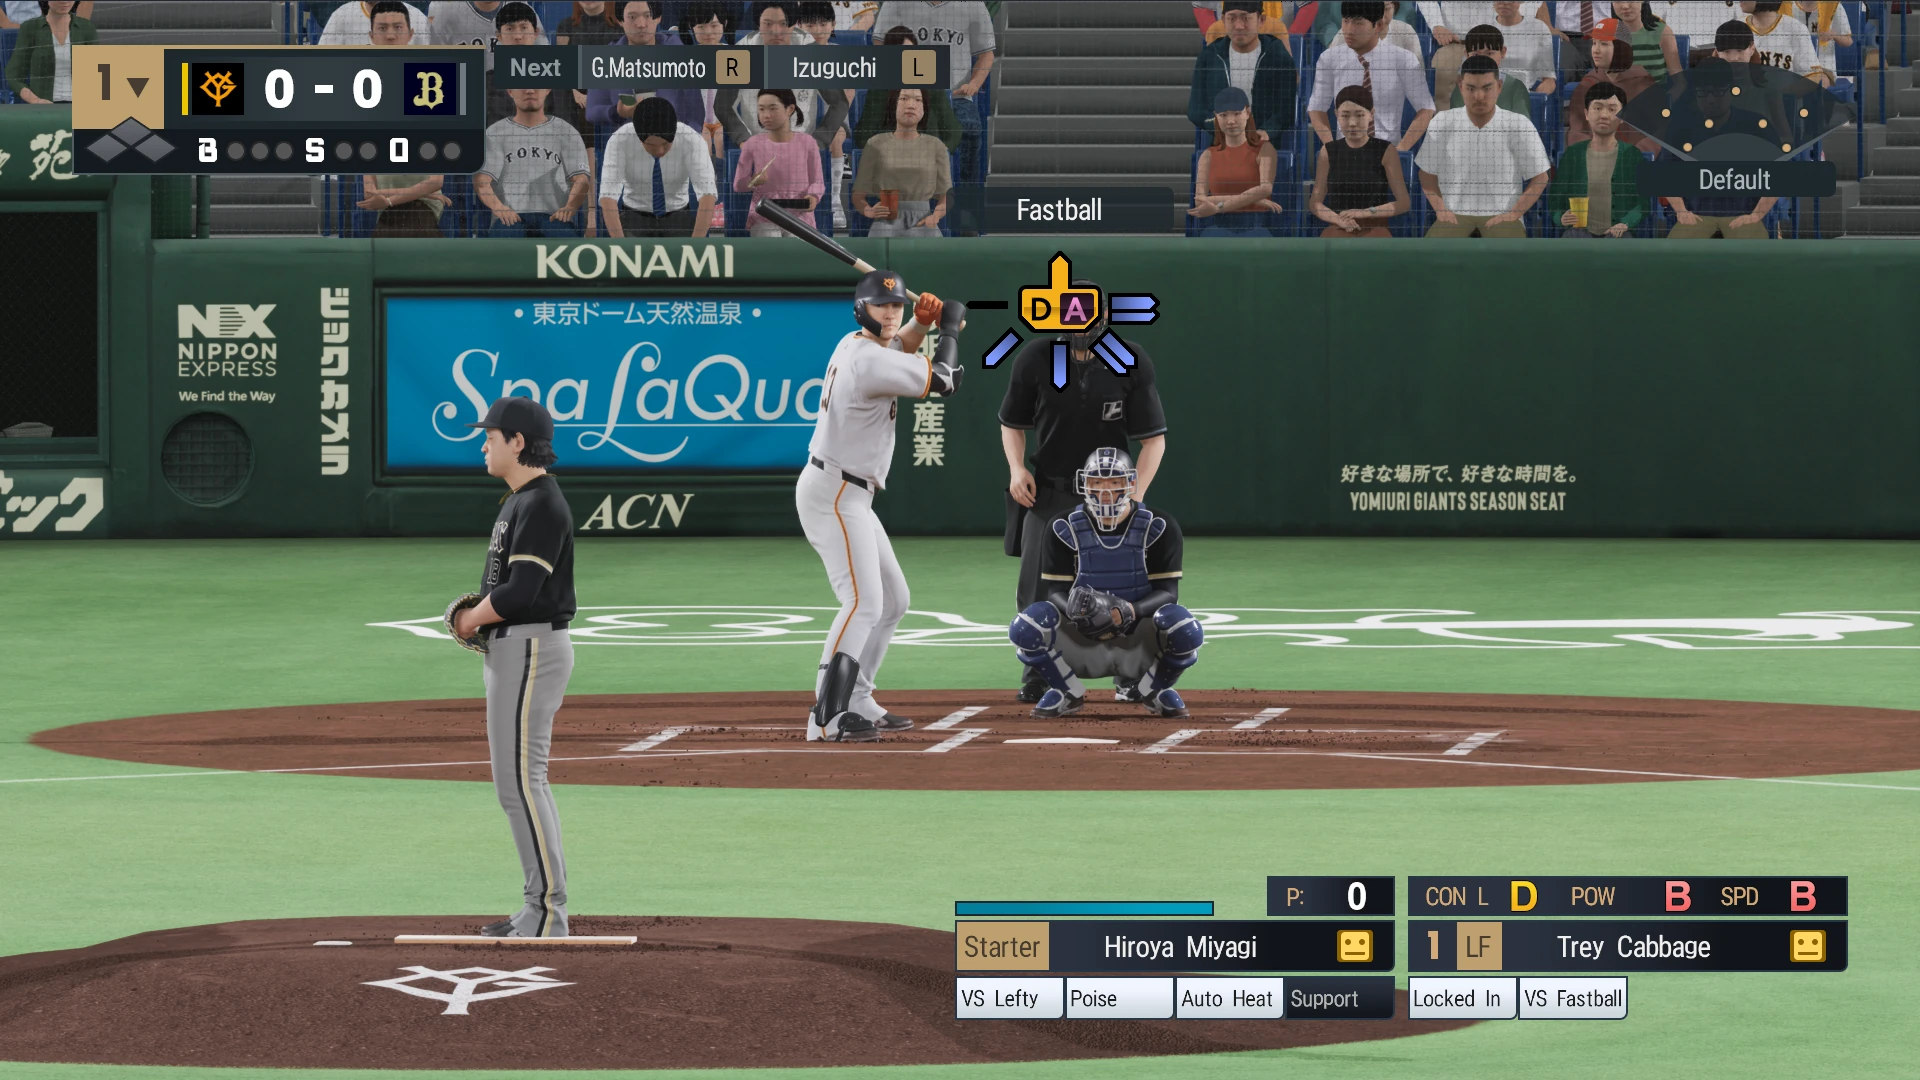
Standard pitch · Manage the at-bat
Use the regular selection when changing location and speed is enough, especially early in a long outing.
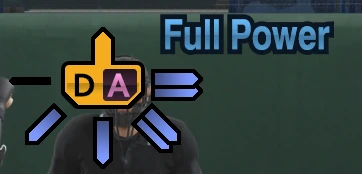
Full Power · Spend stamina for difficulty
Use it for an important pitch when the extra Pitch Power is worth the stamina cost.
The Blue Arrow Shows Where the Pitch Wants to Move
The grey area is your targeting display. The small blue arrow previews the selected pitch’s movement and points toward its likely finishing spot. That endpoint is not a guarantee: Control and release timing still affect where the ball actually arrives.
- Start by looking at the arrow’s endpoint, not only the center of the grey target.
- Leave room for error when aiming near the middle of the plate or outside the strike zone.
- Expect a better-Control pitcher to follow the preview more reliably.

A Common Aiming Mistake
Placing the grey target directly on the desired final spot ignores the pitch’s break. Aim so the movement arrow—not merely the target center—finishes in the location you want.
The White Circle Is Your Release Target
Press × once to begin the pitching motion. Inside the grey target is a smaller white circle. This white circle is the timing point you are trying to match during the windup.
- Choose the pitch and location before starting the delivery.
- Once the motion begins, shift your attention from aiming to the timing circles.
- Do not confuse the outer grey targeting area with the inner white release target.

Match the Shrinking Blue Circle to the White Circle
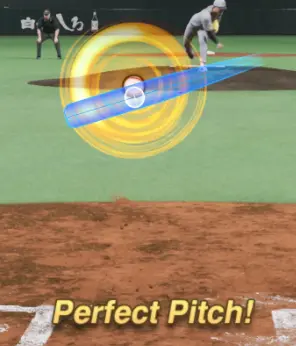
During the windup, the blue release circle contracts toward the inner white circle. Press × again when the two circles meet. A perfect match produces a perfect pitch release and makes the ball harder to hit.
- Release too early and the blue circle is still outside the white circle.
- Release too late and it has already passed the ideal timing point.
- An imperfect release can pull the ball away from the previewed location.
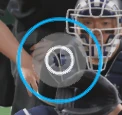
“Perfect Pitch!” Confirms the Timing Match
When the blue release circle meets the inner white circle precisely, the game displays “Perfect Pitch!” The bright timing rings show the successful release state. This confirms the execution—not that every perfectly released pitch will produce an out.
- The pitch follows its intended quality and location more reliably.
- The ball becomes harder for the batter to hit cleanly.
- Pitch choice, target, count, and batter matchup still determine whether the result was strategically safe.
Read Only the Matchup Information That Changes This Pitch
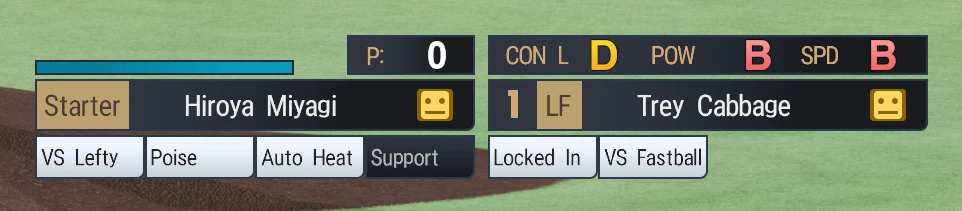
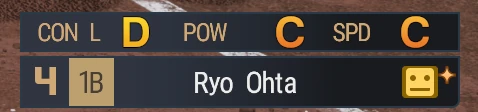
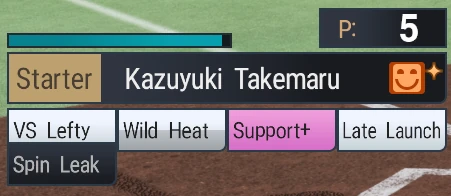
The lower HUD contains a lot of information. A beginner does not need to process all of it at once. Focus on the details that can change your next decision.
Build Your First Two-Pitch Sequences
| First pitch | Second-pitch idea | What changes |
|---|---|---|
| Fastball for a strike | Slower pitch below the zone | Speed and height |
| Breaking ball away | Fastball inside | Horizontal location and speed |
| Pitch low for weak contact | Pitch above the previous eye level | The batter’s visual path |
| Missed pitch that falls behind | Your most reliable strike pitch | Risk level after the count changes |
A sequence is not a fixed combo. If the first pitch misses its job, rebuild the plan from the new count.
Give Every Pitch One Job
- Get ahead: choose a pitch you can locate for a strike.
- Create weak contact: change speed or movement while keeping the miss away from the middle.
- Invite a chase: use count leverage to move beyond the most hittable part of the zone.
- Reset after a miss: choose the safest useful pitch for the new count instead of forcing the old sequence.
Set the Defense Before Starting the Pitch
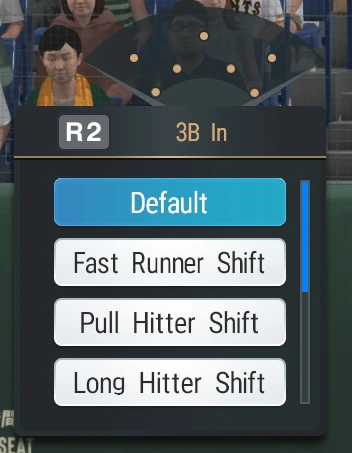
Press L1 before pitching to open Defensive Shift. Choose an alignment only when the batter or game situation gives you a clear reason. Confirm the named shift beside the field diagram before beginning the delivery.
- Fast Runner Shift responds to speed.
- Pull Hitter Shift responds to likely batted-ball direction.
- Double Play Shift prioritizes turning two when the situation allows it.
Controls and Optional Reference
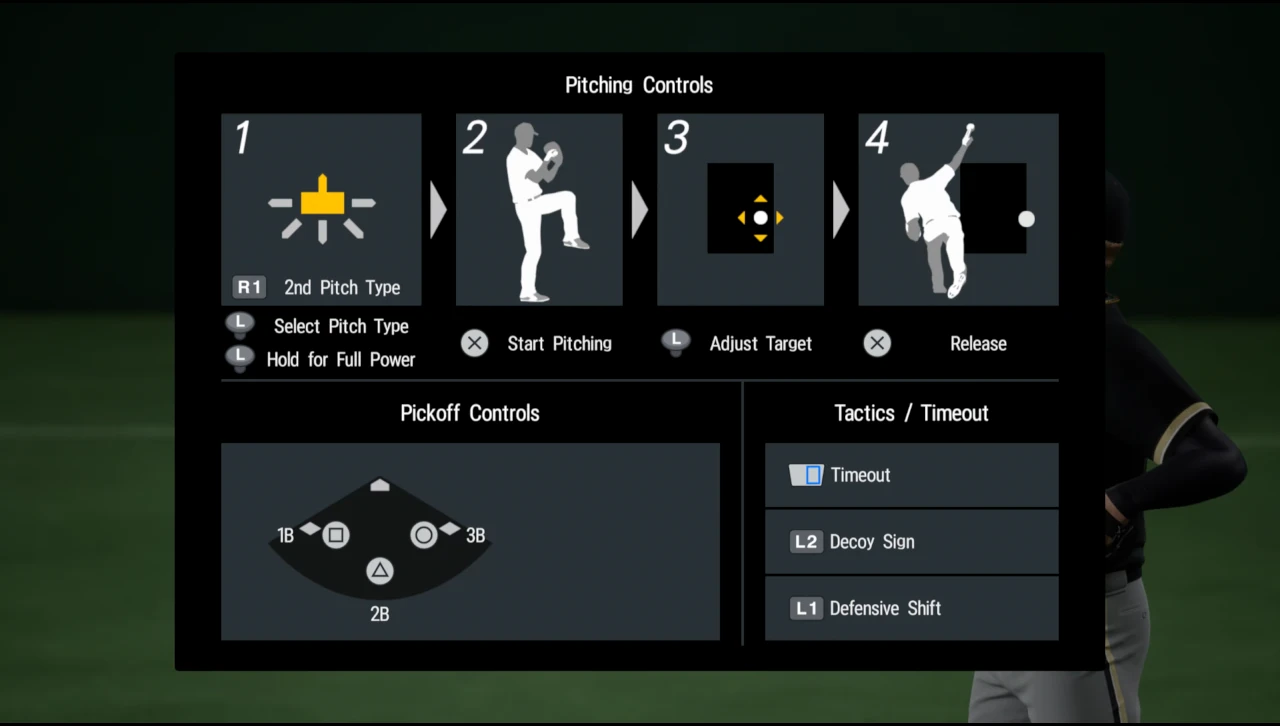
- Where can I see every current pitching input?: Use the official 2026 control sheet below for pitch selection, secondary pitches, Full Power, release timing, pickoffs, Decoy Sign, and Defensive Shift.
- What are legacy pitch-weight rankings?: Older community testing grouped pitches by how easily clean contact carried for home runs. Pitch weight is not an official displayed 2026 rating, so it should not replace the beginner method of reading Power, Control, movement, location, and release.
- What about named special pitches?: Player-specific pitches such as Vanishing Ball, Vulcan Change, Eefus, Dragon Shoot, One-Seam Fastball, and Cherry Curve may appear in roster research. Names and availability can change with the player database; learn their speed and movement like any other pitch.
- Are quick pickoffs and the rosin-bag effect confirmed?: Older guides describe double-tap pickoffs and a possible release-stabilizing rosin effect. Treat both as legacy testing leads until they are directly confirmed in the 2026 release.
2026 Pitching and Fielding Controls
Keep this sheet as a lookup rather than trying to memorize it before learning the pitching rhythm. Begin with four inputs: select a pitch, place the target, press × to start, then press × again to release.
The Repeatable Pitch
- Read Power, Control, and Breaking Level as separate qualities.
- Aim with the blue movement arrow’s endpoint.
- Match the shrinking blue release circle with the inner white circle.
- Choose the next pitch from the actual result and new count.
- Change speed, location, eye level, or movement to avoid becoming predictable.